St Kitts Immigration Form: A Practical 2026 Guide
Table of content
- What the St Kitts Immigration Form Actually Is
- The practical mental model
- Origins of the Online ED Form and Why It Stayed
- Why that retention matters operationally
- ED Form Versus the Electronic Travel Authorisation
- Who needs which step
- Who Needs to Complete the St Kitts Immigration Form
- Who fills what
- Field by Field Guidance for the ED Form
- The fields that trip people up
- What accurate submission looks like
- Documents to Prepare Before You Start
- Build one packet, not three
- Submitting the Form and What Happens Next
- Common Mistakes and How to Avoid Them
- ED Form, eTA, and Paper Fallback Compared
- Quick Reference Checklist Before You Fly
- Frequent Questions About the St Kitts Immigration Form
You're at the airport desk or scrolling on your phone before a red-eye, and the question hits at the worst possible moment, did you complete the St Kitts immigration form? The good news is that this isn't a mystery document with hidden rules, it's a routine digital border step. The bad news is that travellers still get slowed down when they treat every pre-arrival requirement as one blended task instead of three separate checkpoints.
What the St Kitts Immigration Form Actually Is
The St Kitts immigration form is the online Immigration and Customs Electronic Declaration, ED form, filed through the government's Electronic Border Management System. For the official entry requirement summary, see the UK Foreign Office guidance for St Kitts and Nevis entry requirements. It applies to passengers arriving at Robert L. Bradshaw International Airport on St. Kitts and Vance W. Amory International Airport on Nevis, where border staff use it to reduce delays and check arrival details against the trip itself.
The main risk is not the form in isolation. Travelers run into trouble when ticket data, passport details, and arrival information stop matching. A small drift in flight number, date, or personal details can slow the desk down, even if the form was submitted on time.
The practical mental model
Treat the ED form as one checkpoint in a three-part arrival process. First comes the ED declaration. Then comes the electronic travel authorisation, where required. After that, officers still expect the physical documents a traveller would normally carry to the airport.
That split matters because people often bundle everything into one task and miss the part that causes the delay. The declaration is not your airline check-in, and it is not the same as showing your passport at the border. It is the data step that sits before the officer reviews the rest.
Practical rule: if your flight lands in St. Kitts and Nevis, complete the ED form before you travel, keep the confirmation, and make sure the ticket details match what you entered.
Used that way, the process is straightforward. The form handles the arrival declaration, while your passport, ticket, and any other travel documents still need to be ready when you reach the airport.
Origins of the Online ED Form and Why It Stayed
A late flight to St. Kitts leaves little margin for error. If the arrival declaration was still done on paper, airport staff would spend more time checking basic details and less time moving passengers through the desk. Saint Kitts and Nevis brought the online ED form in during 2021 as a paperless border measure in the COVID-19 period, then kept it as a standing operating step.
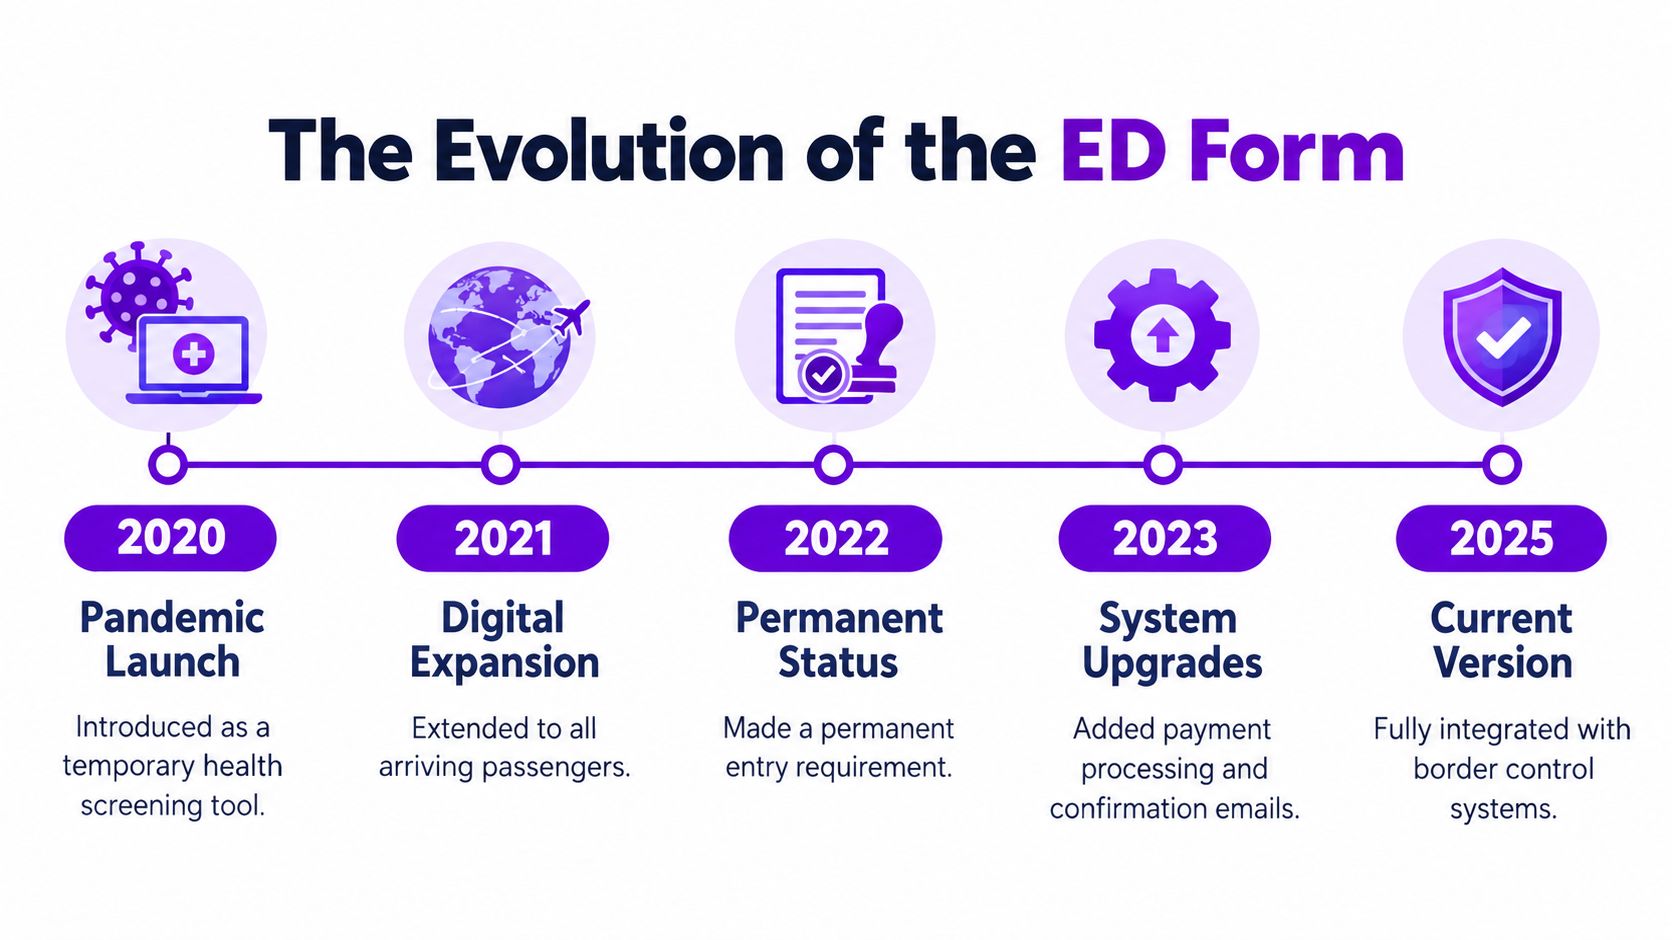
In October 2022, the Ministry of Foreign Affairs said nationals and non-nationals had to complete the form before arrival, mainly to reduce processing delays. On the ground, that is exactly how it behaves now. The digital declaration is a regular border checkpoint, not a temporary health screen waiting to disappear.
Why that retention matters operationally
The main operational gain is timing. Travellers can reportedly submit the form days or weeks before travel, as long as the ticket details still match the trip.
That matters because the form is only useful when the data is clean. Flight number changes, date shifts, or small personal-detail errors create the delays, not the existence of the form itself. Once the itinerary changes after submission, the declaration stops matching the actual arrival, and staff have to slow down to sort it out.
The broader change is simple. The form now sits inside standard border intake, so accuracy matters more than speed. Travellers who treat it as a one-off pandemic holdover usually miss the risk, ticket-detail drift and field accuracy are what trip people up at Robert L. Bradshaw and Vance W. Amory.
ED Form Versus the Electronic Travel Authorisation
The ED form and the Electronic Travel Authorisation, eTA, are separate checkpoints, and travellers run into problems when they treat them as one submission. The ED form is the arrival declaration. The eTA is a separate pre-travel authorisation layer for most non-national passport holders.
Saint Kitts and Nevis expanded its digital entry system into an eTA framework for most non-nationals, with applications accepted up to 90 days before travel and validity lasting 90 days or until passport expiry, whichever comes first (government information published in May 2025). The same government notice said the service charge was temporarily US$8.50, with the standard charge scheduled to become US$17 from 1 September 2025.
The timing matters because the eTA is tied to approval before departure. The U.S. Department of State separately noted that approvals were generally issued within 24 hours, so this step belongs in your planning window, not in the last hour before boarding.
Who needs which step
- Saint Kitts and Nevis citizens and residents: the ED form still applies, but the eTA does not.
- OECS member-country citizens: the ED form still applies, but the eTA is exempted.
- Most other non-national passport holders: both the ED form and the eTA matter.
- Business visitors and repeat regional travellers: the same split applies, so prior trips do not replace either step.
Book the eTA first if it applies, then submit the ED form once your ticket details are final. The declaration has to match the trip the eTA was approved for.
Operational takeaway: if you are a non-national, “submitted the ED form” does not mean “ready to fly.” Check whether the eTA applies before you move to the airport.
Who Needs to Complete the St Kitts Immigration Form
At the airport, the safest assumption is simple. If you are arriving in Saint Kitts and Nevis, you should expect the St Kitts immigration form to matter, and then check whether the eTA also applies to your passport category. The ED declaration is the arrival checkpoint. The eTA is the separate permission-to-travel checkpoint.
Who fills what
- Saint Kitts and Nevis citizens complete the ED form before arrival.
- Residents complete the ED form before arrival.
- OECS citizens complete the ED form before arrival, and the eTA exemption applies.
- Standard tourists and most business visitors complete the ED form, then confirm whether the eTA is required.
- Returning residents complete the ED form, and should verify any extra authorisation tied to their passport category.
- Transit and crew travellers complete the ED form if they are arriving as inbound passengers, then check whether the airline or route adds another document check.
The operational mistake is treating a familiar passport status as a free pass. It is not. The ED form still sits at the front of the process, and the eTA only comes into play for travellers who are not exempt.
For anyone trying to keep trip admin under control, the same discipline helps with how to price freelance services. Separate the fixed requirement from the variable one, then handle each on its own terms.
Fast filter: if you are entering Saint Kitts and Nevis, answer two questions before you pack, do I need the ED form, and do I also need the eTA? The ED form covers arrival, the eTA covers permission to travel.
Field by Field Guidance for the ED Form
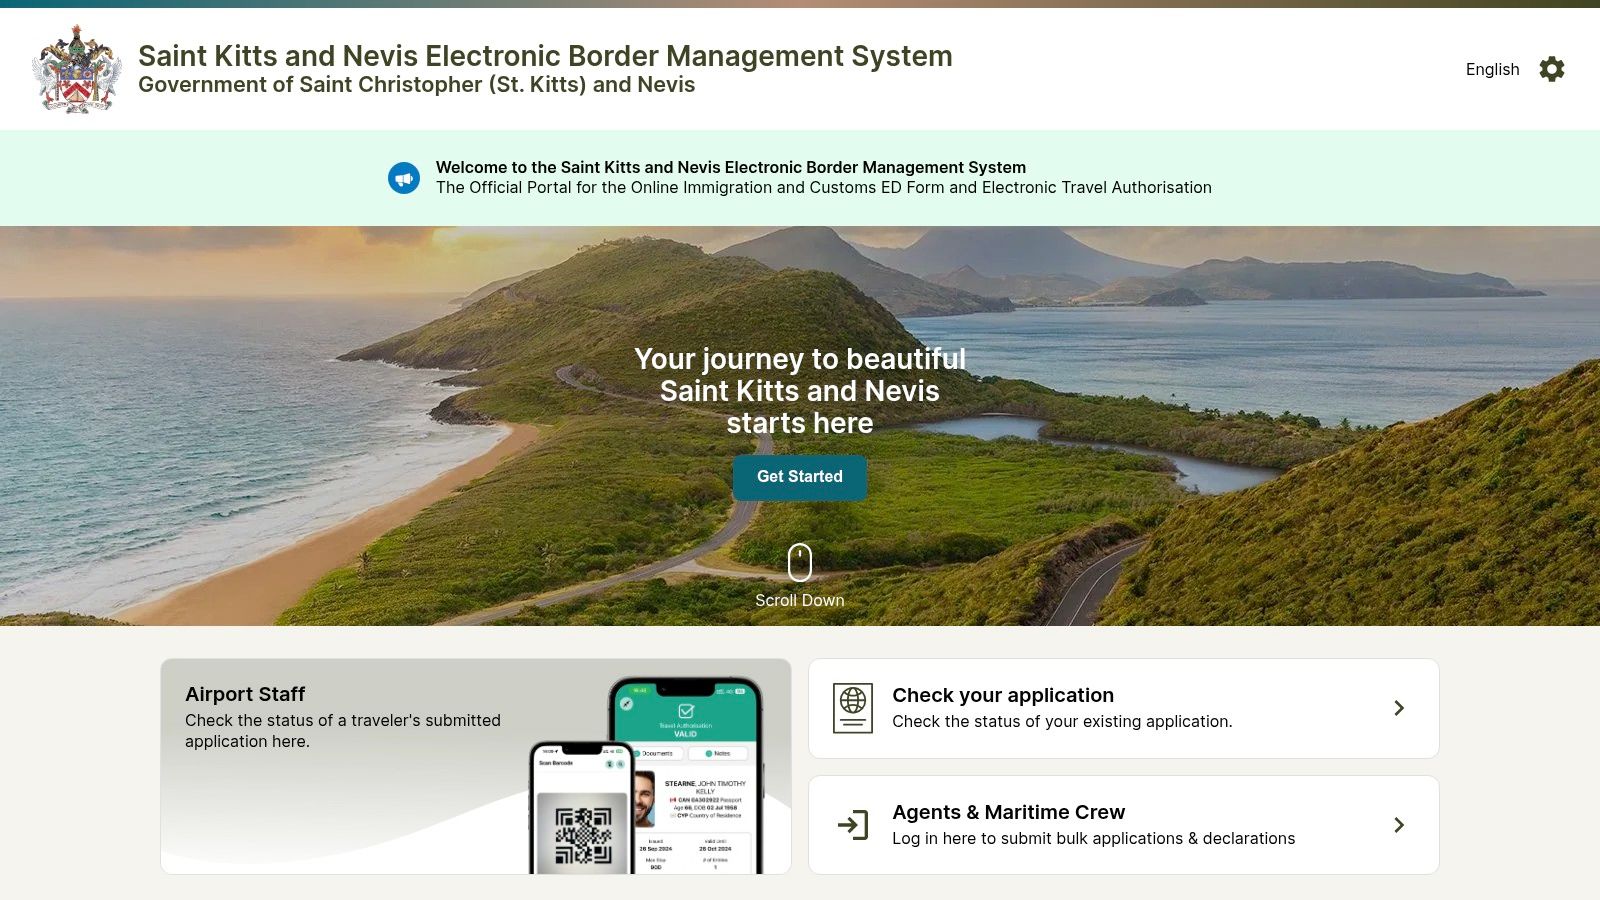
At the airport, the ED form only works if the details match the documents in your hand. Start with the passport name, not the name you use day to day, and copy it exactly as it appears on the identity page. Passport number, issue date, expiry date, nationality, and issuing country should all line up with the document you will present at the border.
The travel fields deserve the same care. Enter the airline, flight number, arrival airport, arrival date, time, and final accommodation address exactly as booked, because the declaration is tied to the actual trip, not the version you intended to take. If the ticket changes after submission, check the form again and update it if needed. That is where travellers get caught out at Robert L. Bradshaw and Vance W. Amory, not on the form itself, but in the drift between the form and the itinerary.
The fields that trip people up
Address fields can be awkward when a home or destination uses a non-Latin script. Keep the spelling readable and consistent, and avoid changing the transliteration from one field to the next. Middle names and dual citizenship details can also create mismatches if you rush.
Work through the fields in order using a guide to filling PDFs so no block gets skipped. The point is not to make the form clever, it is to make your entries match the documents border staff will compare against.
What accurate submission looks like
- Personal details: exactly as shown in the passport.
- Passport data: precise issue and expiry dates.
- Trip details: consistent with the ticket and arrival airport.
- Contact details: usable if border staff need follow-up.
- Customs declarations: complete and honest, not rushed.
Travellers can enter information before travel through the government portal at knatravelform.kn, but only if the flight and ticket details stay accurate. If the itinerary shifts, the safest move is to review the submission again rather than assume a near match will pass.
Documents to Prepare Before You Start
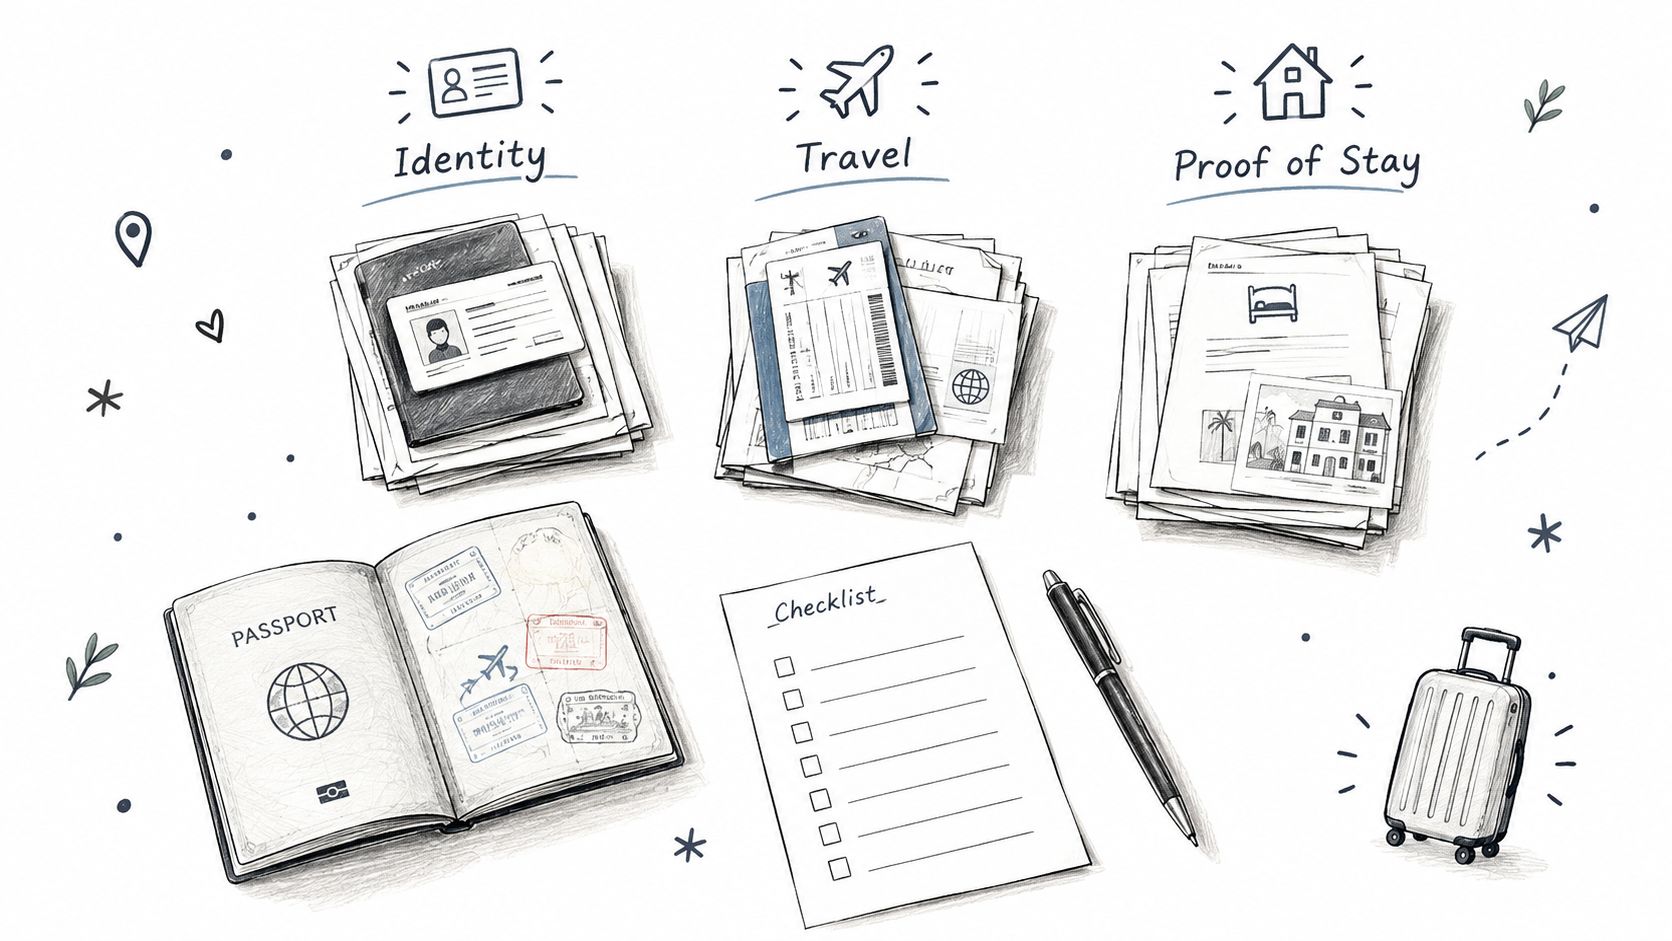
At the counter, the form itself is usually the easy part. The delays start when passport details, ticket data, and supporting papers do not match cleanly. Keep one packet ready for the ED declaration, the eTA, and the documents officers may ask for at arrival.
Start with your valid passport and a clean copy of the photo page. Add your confirmed round-trip or onward ticket, plus accommodation details that match the itinerary you entered. If your passport scan is in HEIC format, use this HEIC to PDF conversion for iPhone walkthrough before uploading.
Build one packet, not three
Keep the supporting papers together before you open the portal. Business travellers can add an employment letter if they have one. Family visits may call for an invitation letter. Minors should travel with birth certificates and, where relevant, notarised parental consent.
Have bank statement or card evidence ready if officers ask for proof of funds. If health or vaccination records apply to your trip, keep those nearby too. The aim is to avoid digging through email while you are trying to complete the declaration correctly.
For the longer-term picture of holding assets while moving between jurisdictions, see Mazurly's guide to investing while living abroad. For this form, the practical rule is simpler, scan or photograph everything into one folder before you begin. That gives you one source for both the ED form and the eTA, and it reduces the risk of ticket-detail drift.
Submitting the Form and What Happens Next
A smooth submission starts before you click submit. Open the portal, choose the guest path or create an account if that is the route available to you, then enter the declaration carefully and review each field against your passport and ticket. If the eTA applies, treat it as a separate approval step. It has to be cleared before departure, and that is where travellers lose time when they leave it too late.
Once the ED form is accepted, save the receipt or QR code immediately. Airport staff may ask for it on a phone or on paper, and a backup copy in your hand luggage saves you from scrambling at the desk. In practice, I recommend having both.
The eTA timing is the part that trips up arrivals most often. It is expected electronically before you fly, and may generally arrive within 24 hours, but that is not a reason to submit it on departure day. Build in a buffer. A late approval creates pressure at the airport, especially if your ticket details have shifted since you first entered the form.
A practical day-of-travel check is simple. Open the receipt before you land. Keep your passport page within reach so the documents match quickly. Carry the backup copy in case your phone dies or locks. Primary inspection may scan the QR code instead of retyping your details, which usually keeps the handoff faster when the paperwork lines up.
The risk is not the form itself. It is the gap between what you submitted and what border staff see at the counter.
Common Mistakes and How to Avoid Them
At the counter, the problems are rarely dramatic. A form can still go through while the details drift just enough to slow primary inspection, especially if the passport, the ticket, and the arrival record no longer tell the same story. That mismatch is the operational risk.
The errors that cause the most friction are usually simple:
Name fields that do not match the passport. Check spelling, middle names, and name order before you submit.
Passports that are expired or close to expiry. Verify validity first, because an old document can make the rest of the filing pointless.
Wrong arrival point. St. Kitts and Nevis are separate entries on the form, so choose the correct island and airport.
Itinerary changes after filing. If the ticket changes, the form should change too.
Unreadable uploads. Blurry photos and weak scans create avoidable problems.
Skipping the eTA check. Many non-nationals still need the separate pre-travel authorisation.
If you find an error after submission, compare the form with the passport and ticket before you do anything else. Correct it through the portal if the system allows it. If the itinerary has changed, treat that as more than a typo. Border staff will see the difference.
A practical self-check takes less than a minute. Passport. Ticket. Airport. eTA status. If all four line up, the arrival process usually moves more cleanly. If one of them is off, that is where the delay starts.
ED Form, eTA, and Paper Fallback Compared
| Compliance Step | Purpose | Who Needs It | When to Submit | Cost | What to Show at the Desk |
|---|---|---|---|---|---|
| ED form | Arrival declaration and border processing | Inbound passengers, including nationals and non-nationals | Before arrival, and it can be entered ahead of time if trip details stay accurate | Not stated in the verified data | Receipt or QR code, digital or printed |
| eTA | Pre-travel authorisation for applicable non-nationals | Most non-national passport holders, with exemptions for Saint Kitts and Nevis citizens, residents, and OECS citizens | Up to 90 days before travel, and approval should arrive before departure | Temporary US$8.50, then US$17 from 1 September 2025 | Approval linked to the application |
| Paper fallback | Residual manual handling only if an officer needs it | Rare, situation-dependent | Only if requested or if a traveller cannot present the digital receipt | Not stated in the verified data | Printed confirmation or manually presented documents |
The core takeaway is simple. The ED form is the standing arrival step, the eTA is a separate advance authorisation for many non-nationals, and any paper handling is just a backup to the digital process. If you know which step does what, last-minute checks become much easier.
Quick Reference Checklist Before You Fly
At the airport, the failures are usually small and costly, a typo in the ED declaration, a ticket detail that no longer matches, or an eTA that was never approved for the passport you are using. Confirm the passport is valid, save the ED receipt from knatravelform.kn, and keep the eTA approval handy if your passport category needs one.
Put the accommodation address, return or onward ticket, and supporting documents in your carry-on, not in a checked bag. If you're travelling with children, keep birth certificates and any parental consent papers together in the same folder. Check the Passpaw travel docs for Saint Kitts widget before you leave so nothing important stays behind.
If you are coordinating several travel admin tasks at once, Mazurly's cost-of-living comparison countries page is a practical example of how to keep cross-border planning ordered without losing track of the details.
- Passport checked
- ED form submitted
- eTA approved if needed
- QR or receipt saved
- Backup copy printed
- Supporting documents packed
- Reference number recorded
Frequent Questions About the St Kitts Immigration Form
Children usually need their own ED form if they're arriving as separate passengers, and the adult travelling with them should keep the child's documents together with the rest of the trip packet. If the form has an error after submission, compare it against the passport and ticket first, then correct it through the portal path that matches the issue.
If the QR code or receipt goes missing before boarding, use the saved screenshot or printed backup. If you don't have either, recover the reference from your email or submission record before you reach the airport. For onward travel into other OECS or Caribbean destinations, don't assume one digital declaration covers everything, because each destination can run its own entry process.
Keep the St. Kitts declaration separate from the next leg of the trip. One border system doesn't cancel another.
Mazurly helps travellers and remote workers handle the admin that trips them up, from travel requirements to practical planning tools. If you want a cleaner way to manage entry steps like the St Kitts immigration form, visit Mazurly and use the guides and tools to keep your next trip organised.